Online collections
monedastodas.com
All collections » Origami » Compact Dragon
By Perry Bailey Copyright 1999 (Barely) With thanks to the work of Samuel Randlett
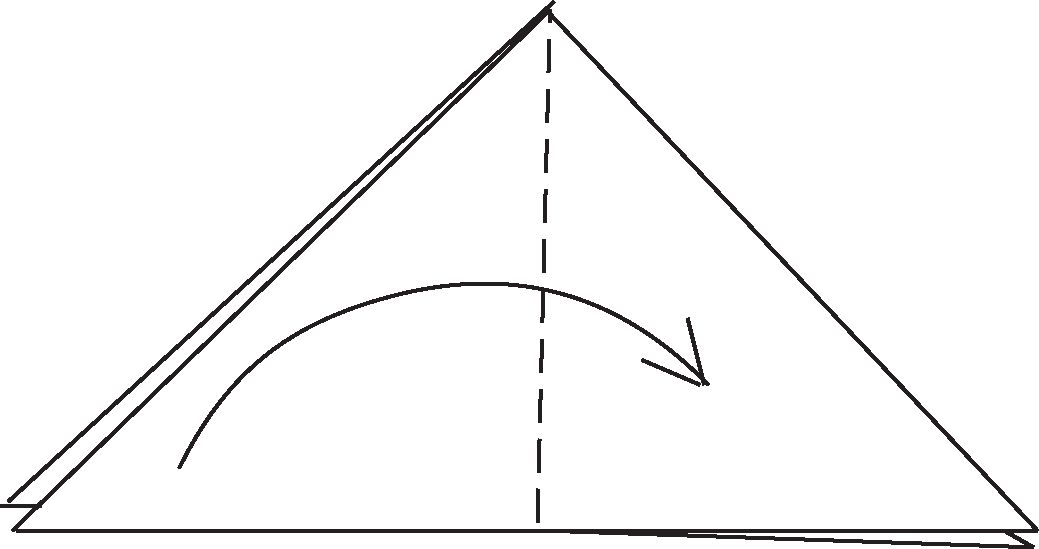
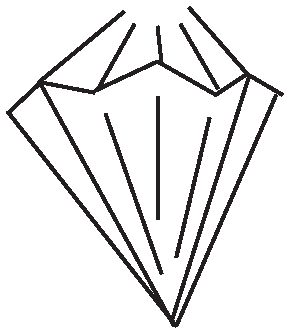
1. Fold a water bomb base with the white side facing up.
-
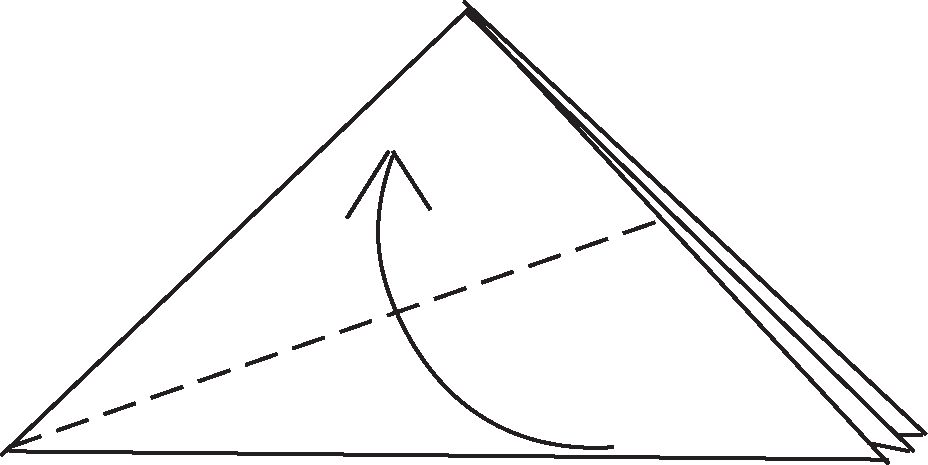
2. Fold one flap over so there are three flaps on one side and only one on the other.
-
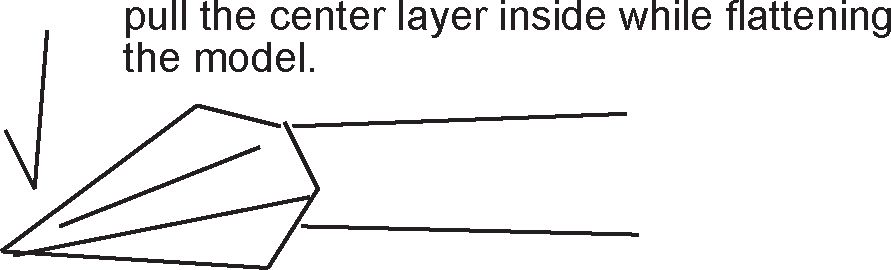
3. Valley fold up the top layer of paper only, this will leave you with a flap sticking up.
-
4. Take that flap that is sticking up and fold it over to the edge of the model and then flatten the model.
5. You should have something that looks like this. If you do repeat 3 through 4 on the other side.
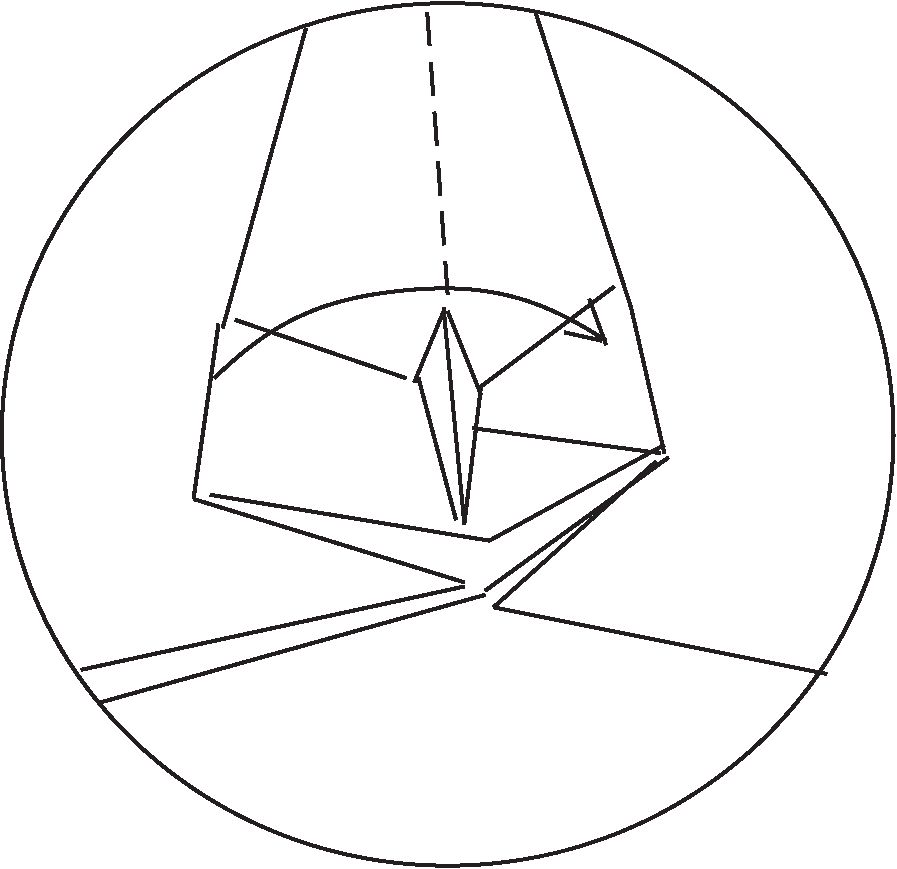
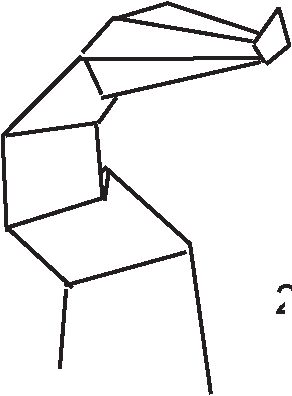
6. Which should have given you some thing like this, with one flap one side and 2 flaps on the other, and 2 above. Turn the model 90 degrees to the right.
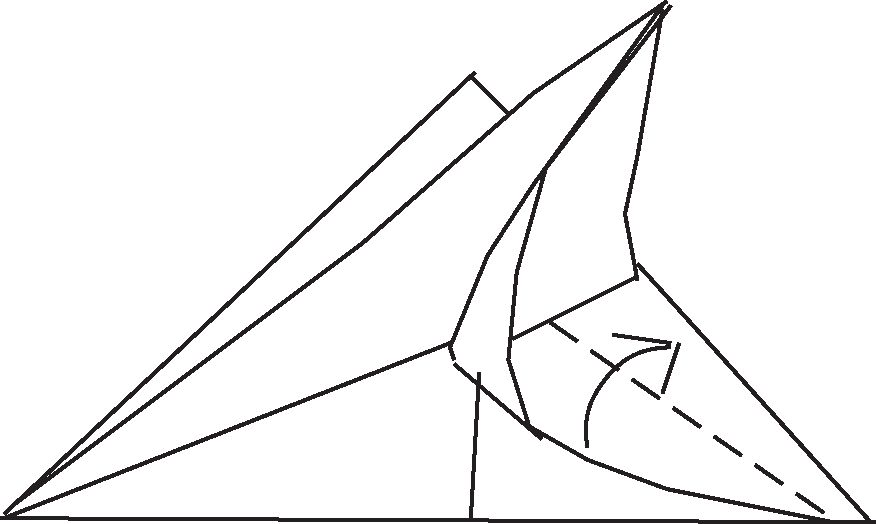
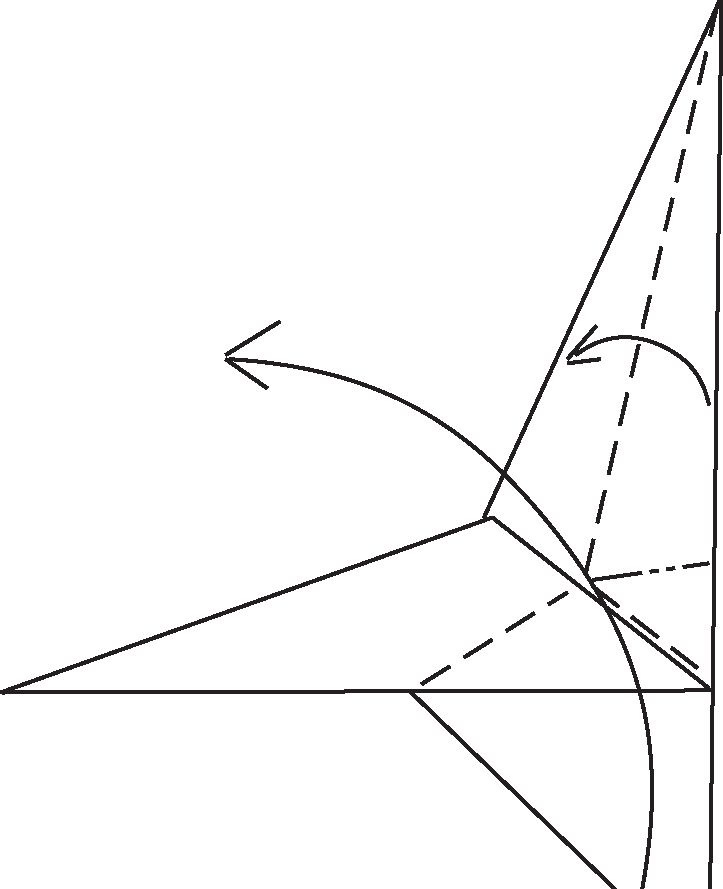
7. Arguably this diagram isn’t a true 90 degrees to the right but I doubt yours was perfect either! ( you there with compass bad, bad person, sit in the corner and make this into a flapping bird instead!) Fold the top flap all the way over.
As you can see this appears to be a squash, and it is sort of, if you don’t mind messy.
-
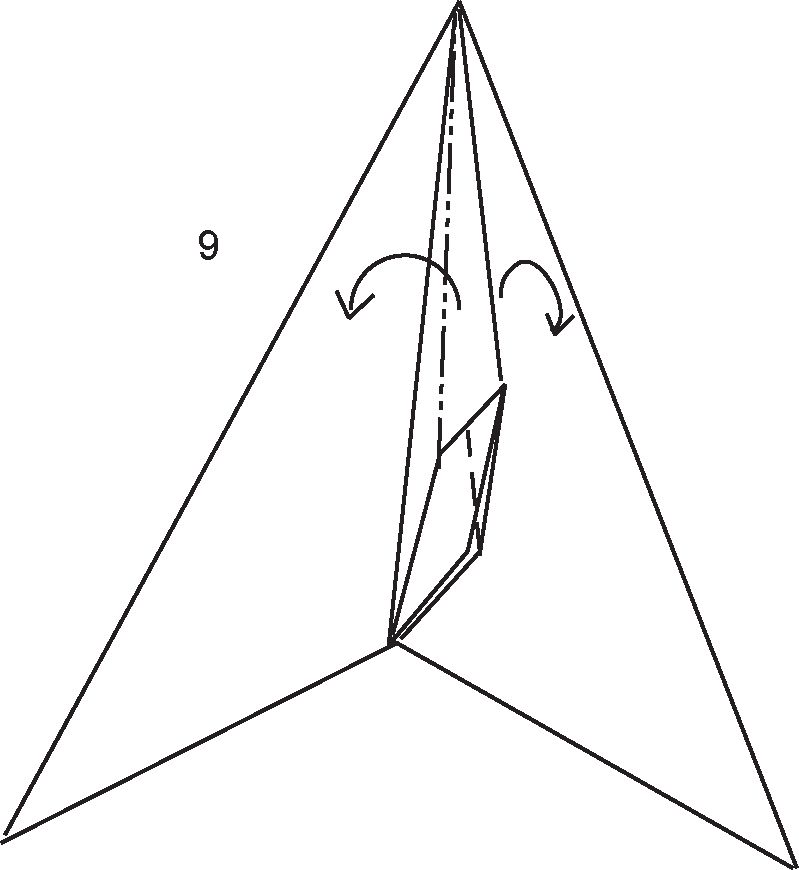
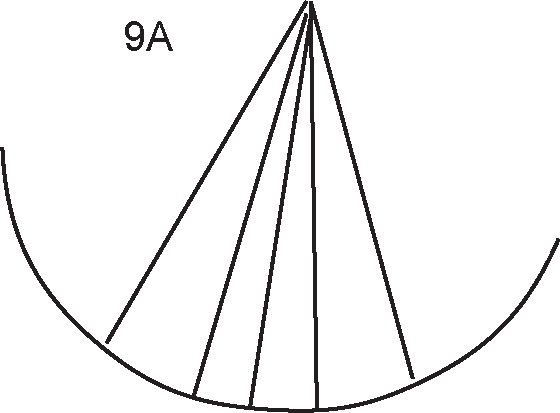
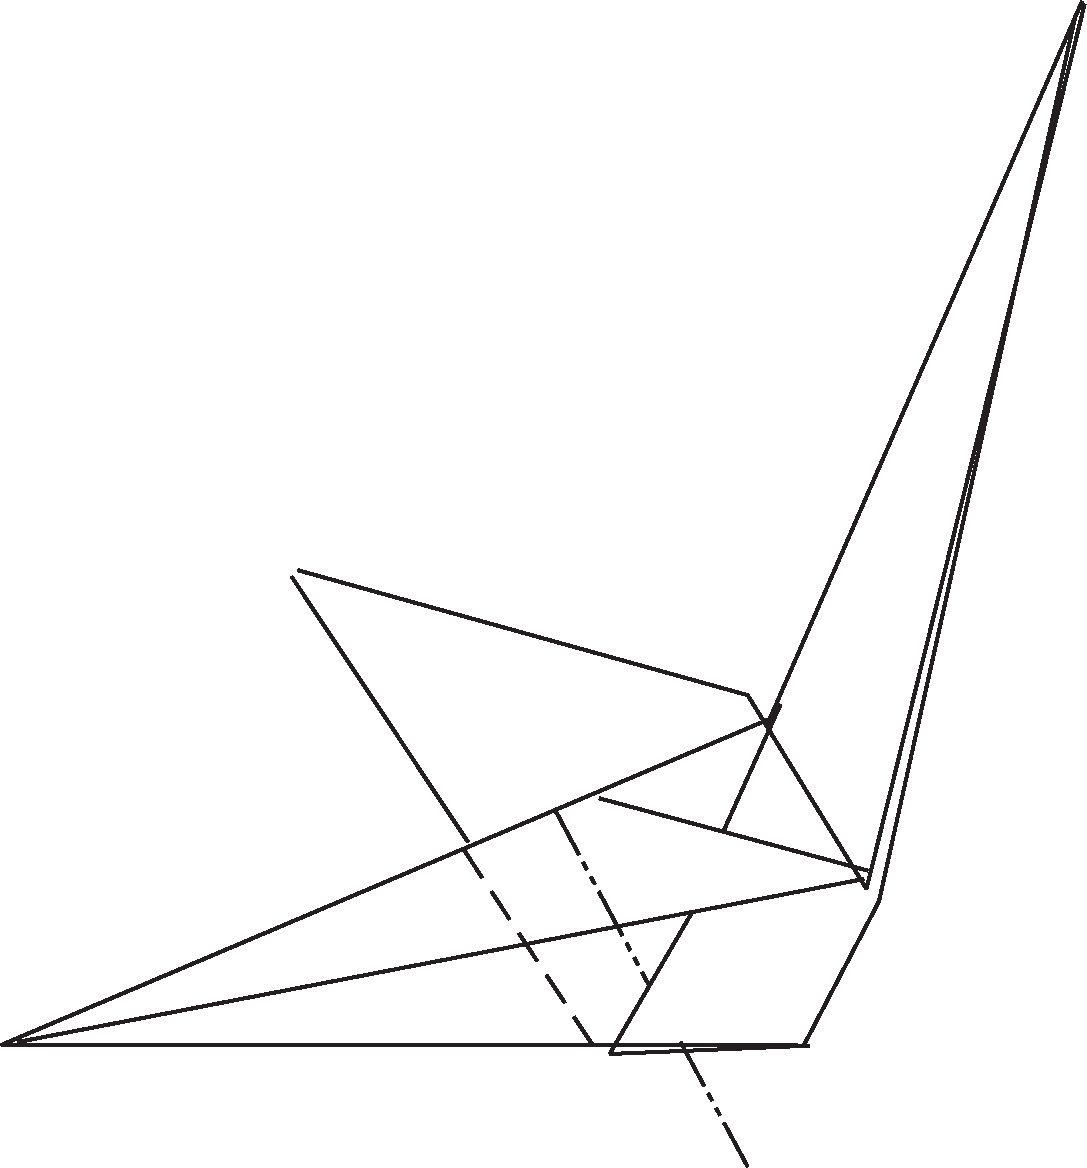
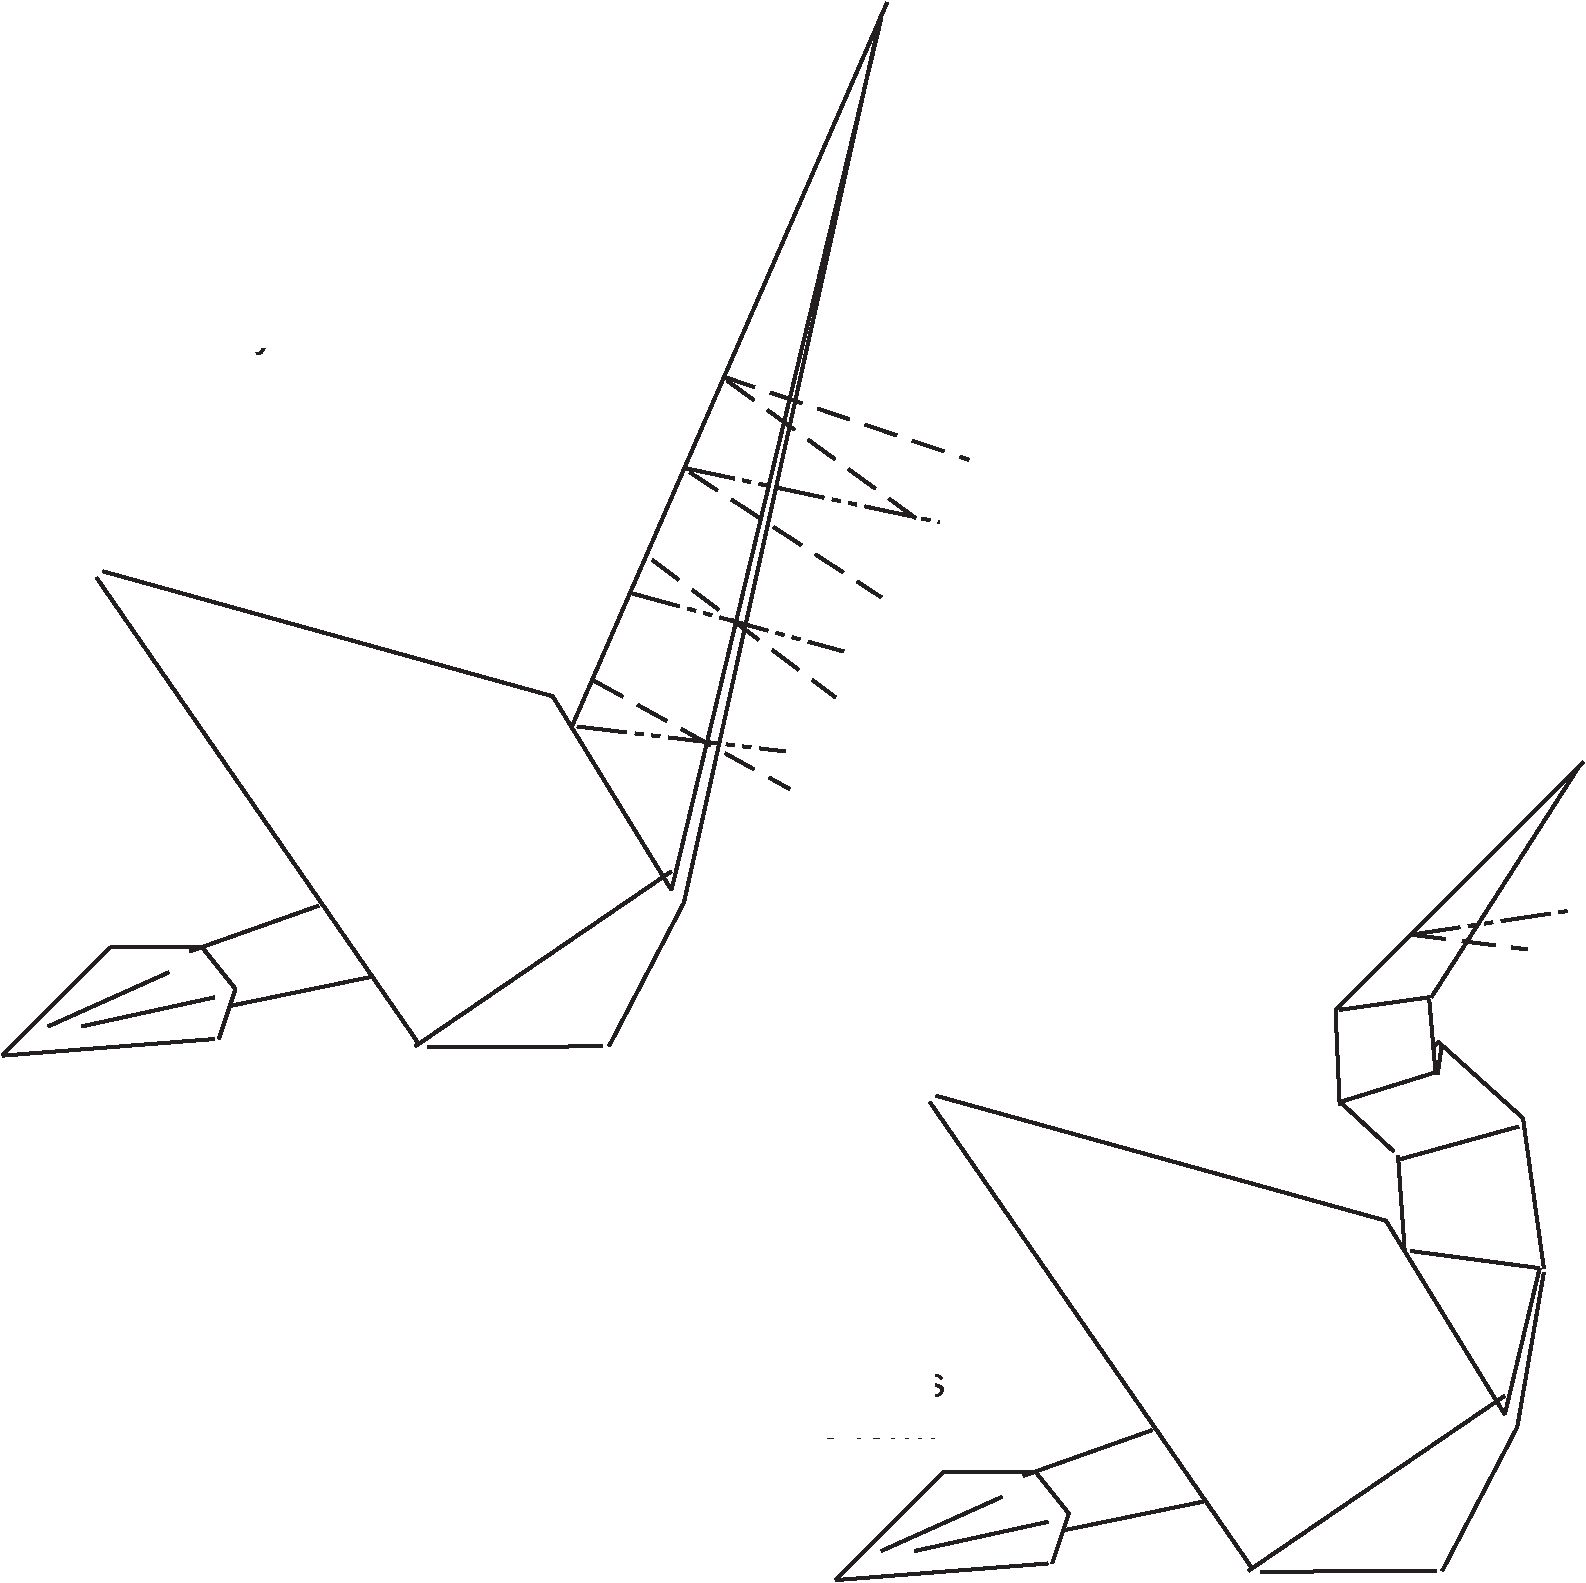
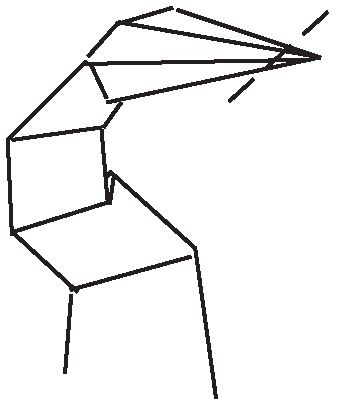
9. OK now as you can see I have blown a page or two on this in an effort to make some sort of sense out of it. You have to start this at the top of the model and to do that you may have to reach in behind to start it. Note it will not go all of the way to the bottom of the model in a normal manner, as there are too many layers of paper so when you reach the bottom of the squash stop and go to the next page.
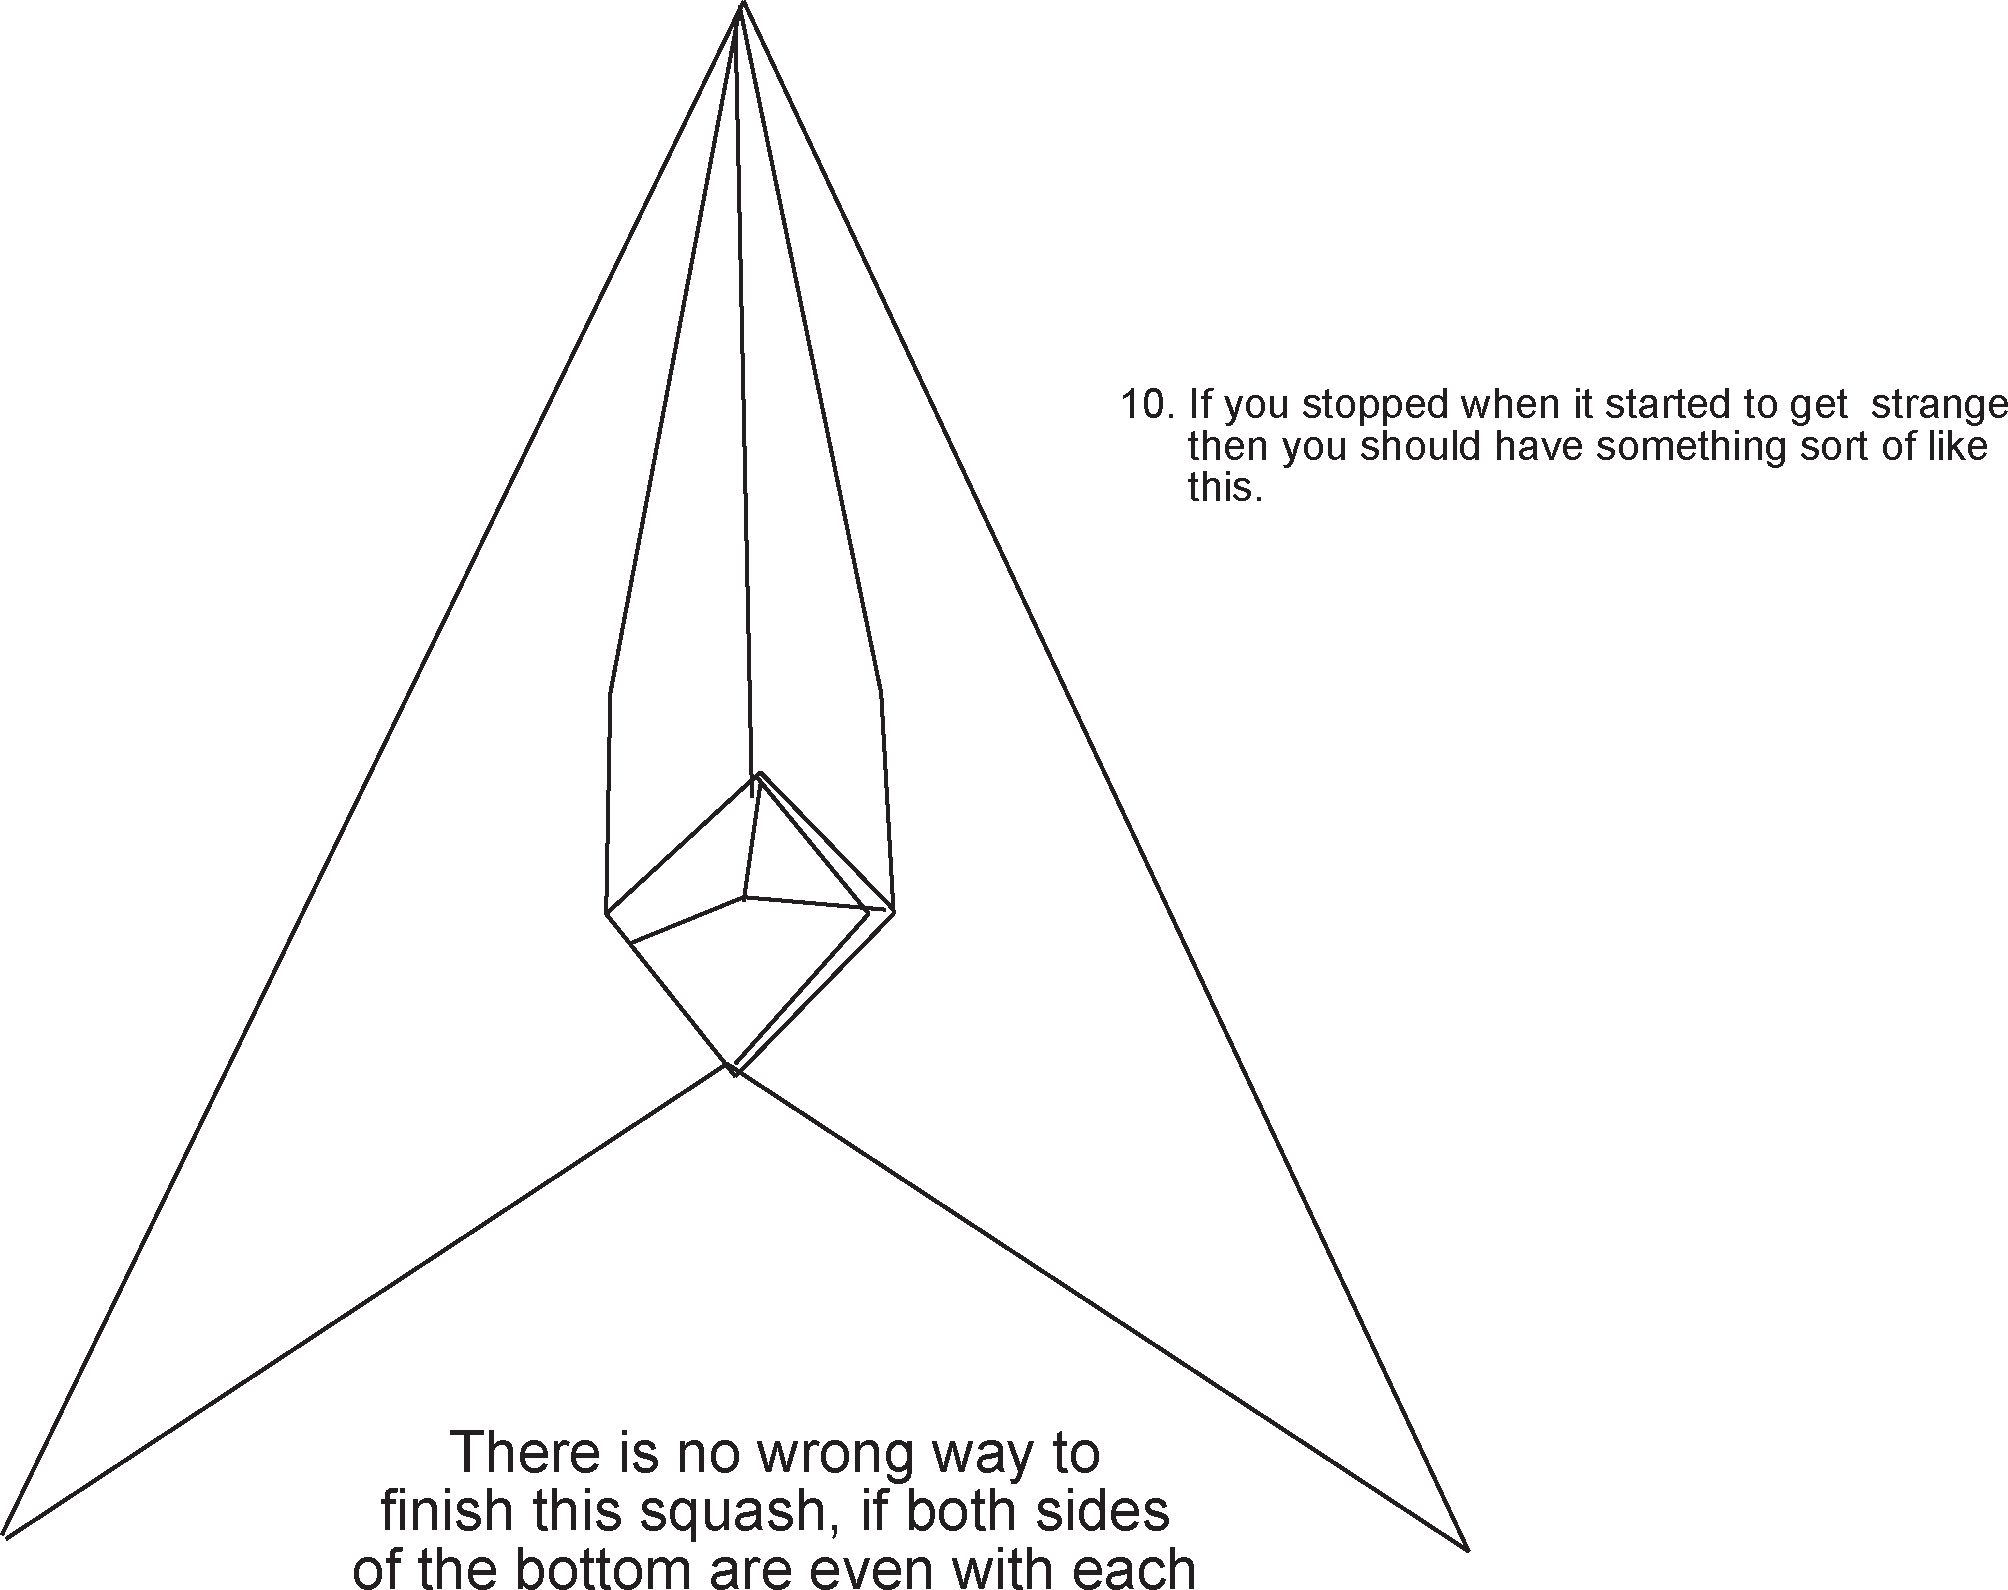
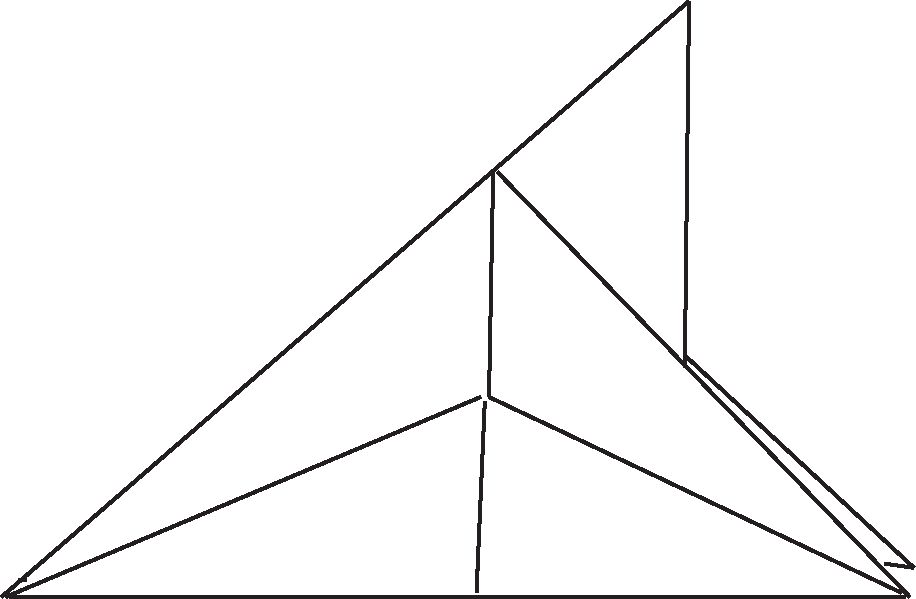
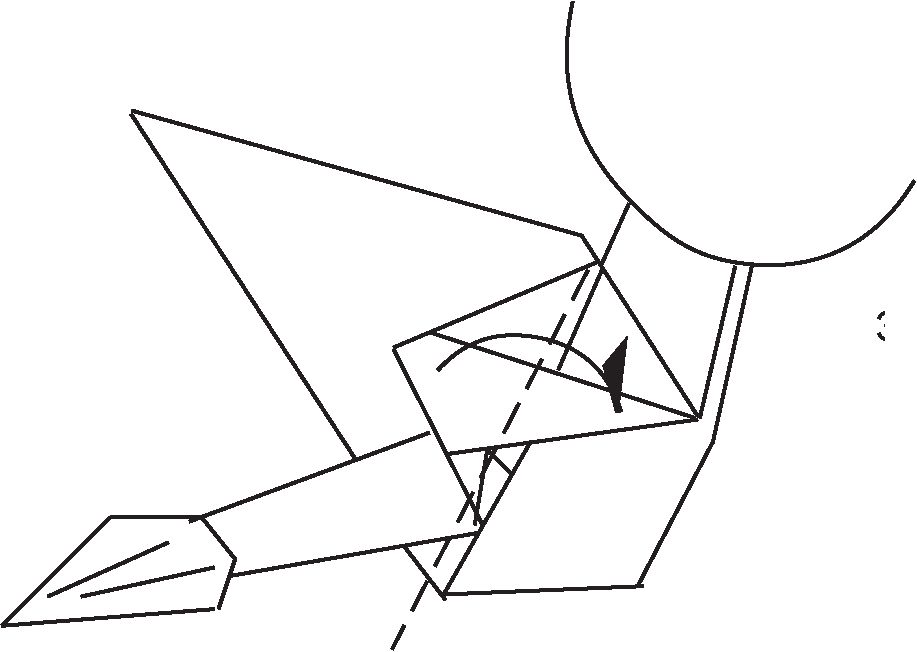
other, you got it right!
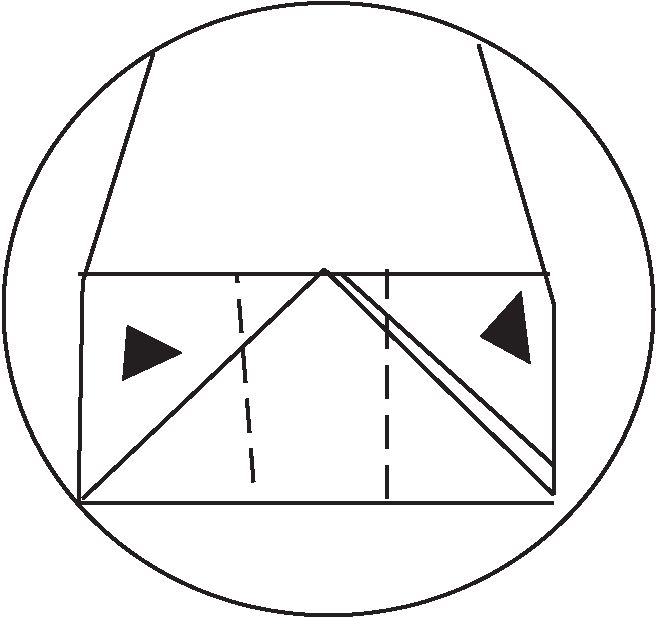
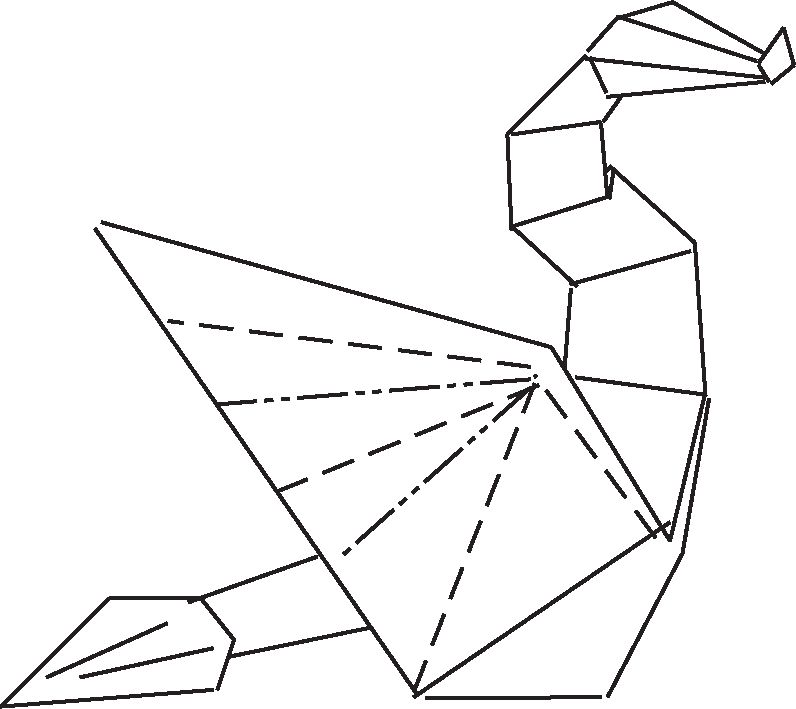
11. In close up you see the model can not fold flat, but we don’t need it to if you pinch the center of it together then you can proceed.
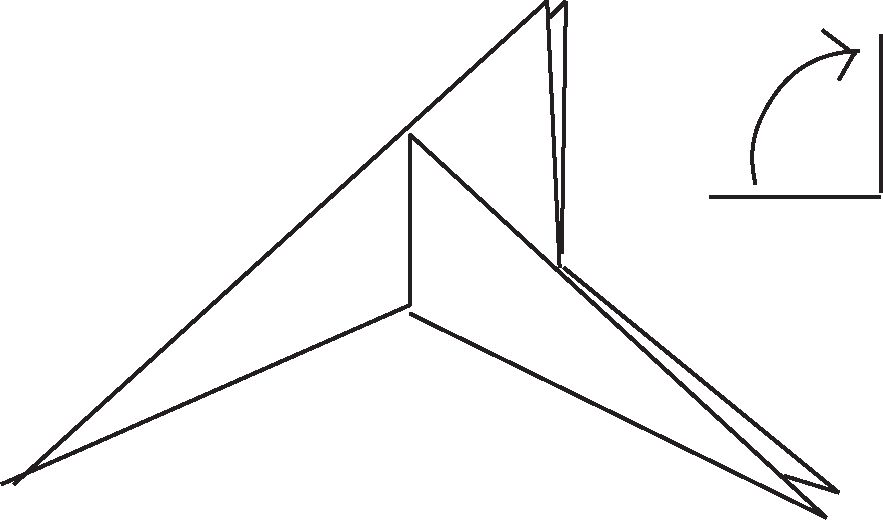
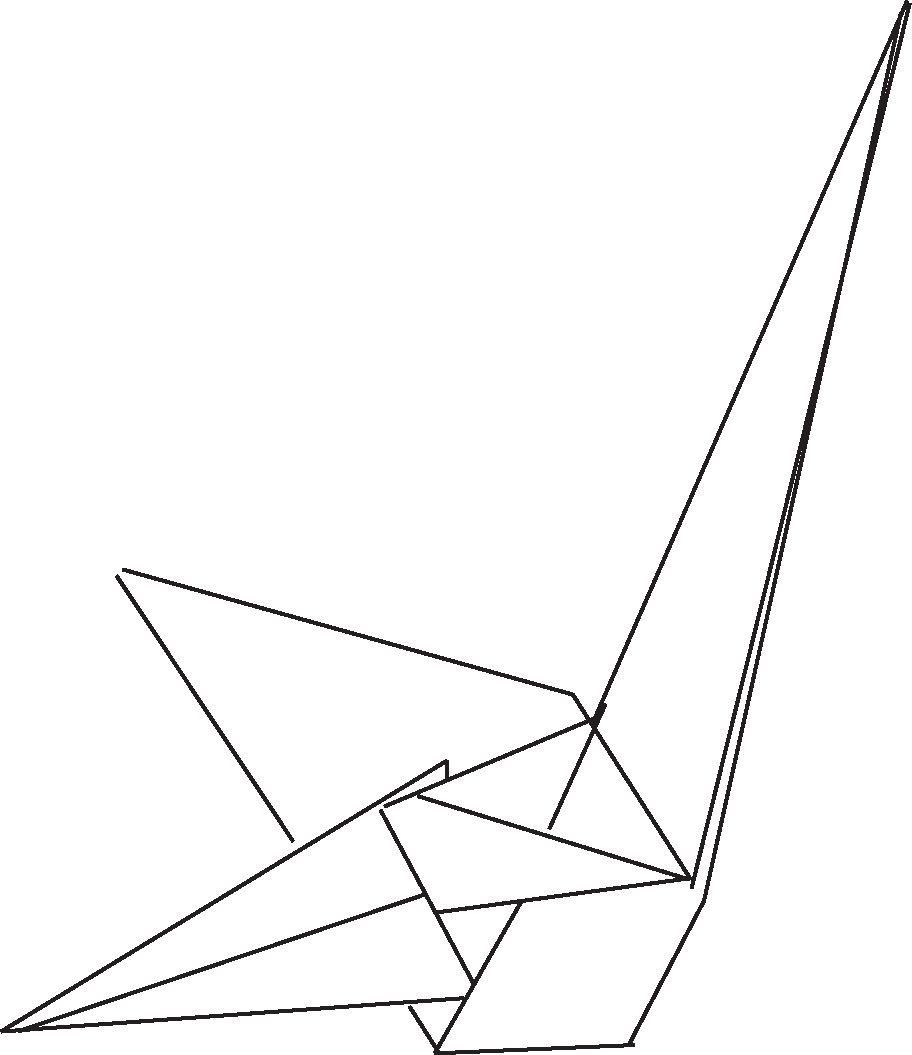
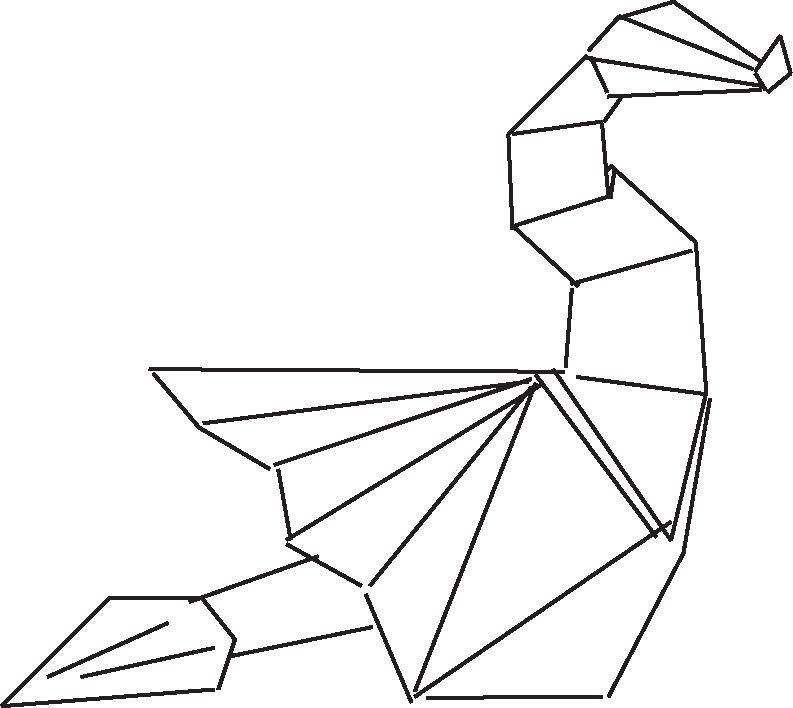
12 . To fold it back together again back to step 7 or a near equivalent which should be flat. If That doesn’t come out well just smash it down flat and get on with it!
13. As you can see other than
the fact I don’t have it facing
quite the same way it does resemble
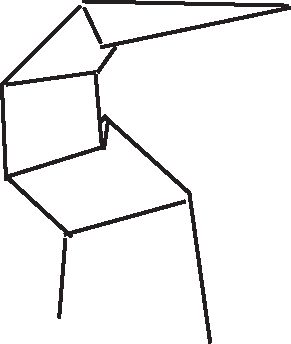
step 7 and is flat.. Now fold on the upper flap one layer over will folding the lower flap up to create the wings.
Repeat on the other side.
14. In theory anyway you should be here. Note the rounding of his tummy was brought about by the odd squash we did earlier, unless of course you went for the bird option in which case you should be happily flapping away!
15. Fold the flap up on both sides, note that you will be folding this up inside of the wing it’s self. Repeat on other side.
16. Fold the tail in and back out using
2 reverse folds. Still in x-ray mode.
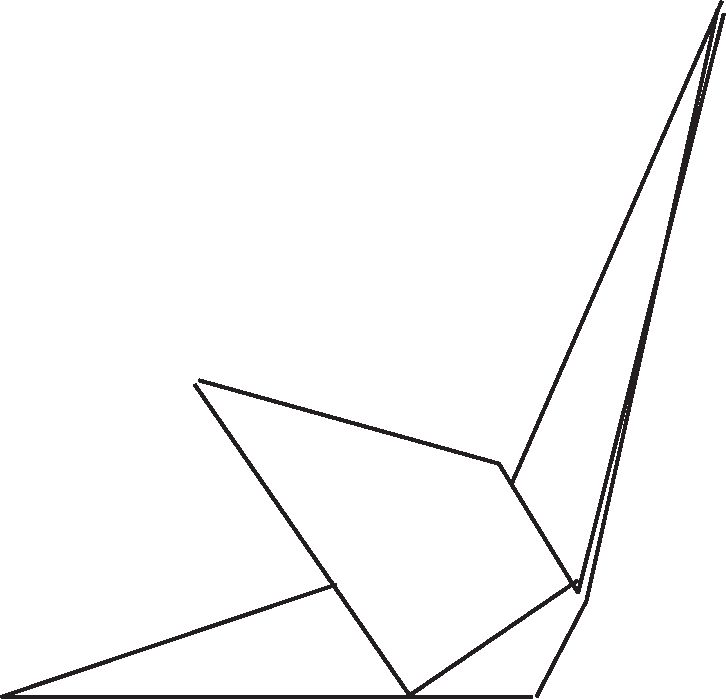
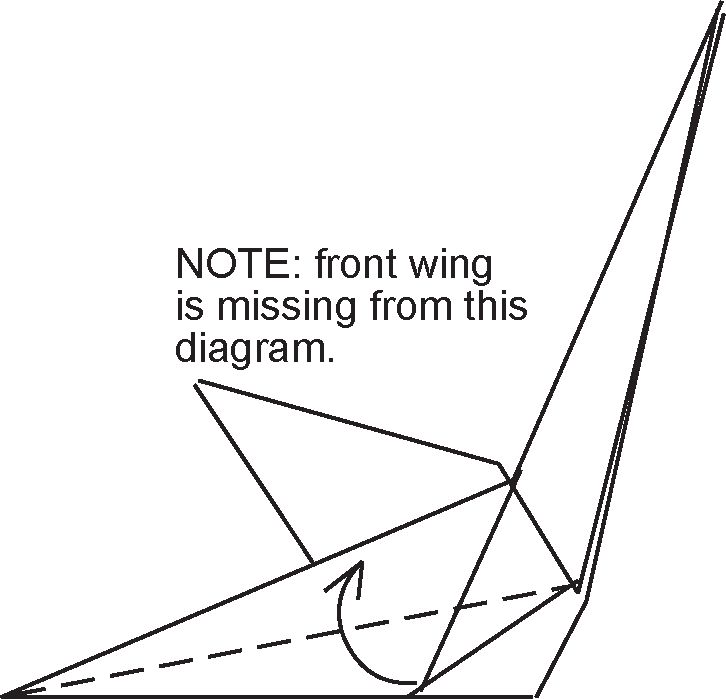
17. You should have something like this if the front wing were missing.
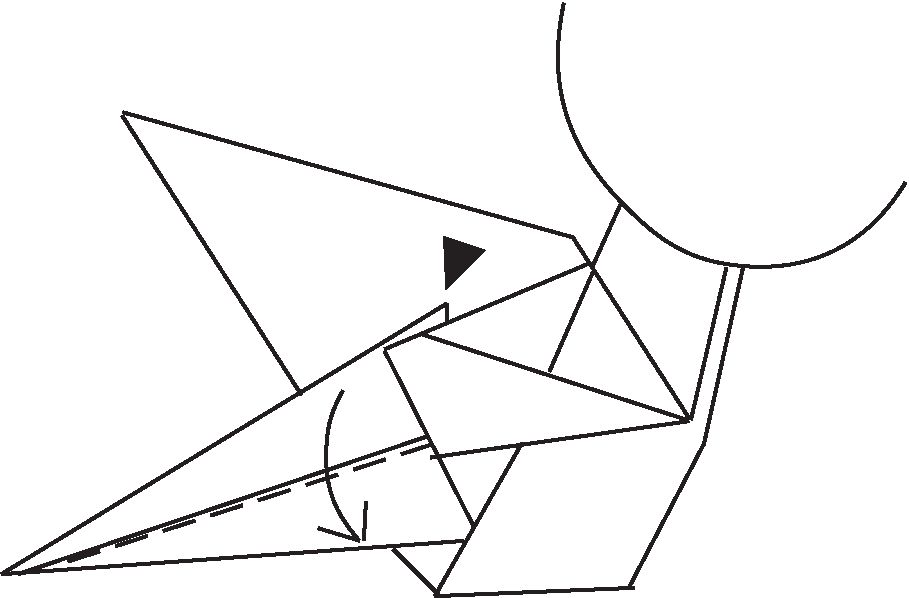
18. Now lets start on the tail, fold down the upper layers on both sides while sinking the inside corner. Please note this should create a color change on the tail.
19. Should come out like this.
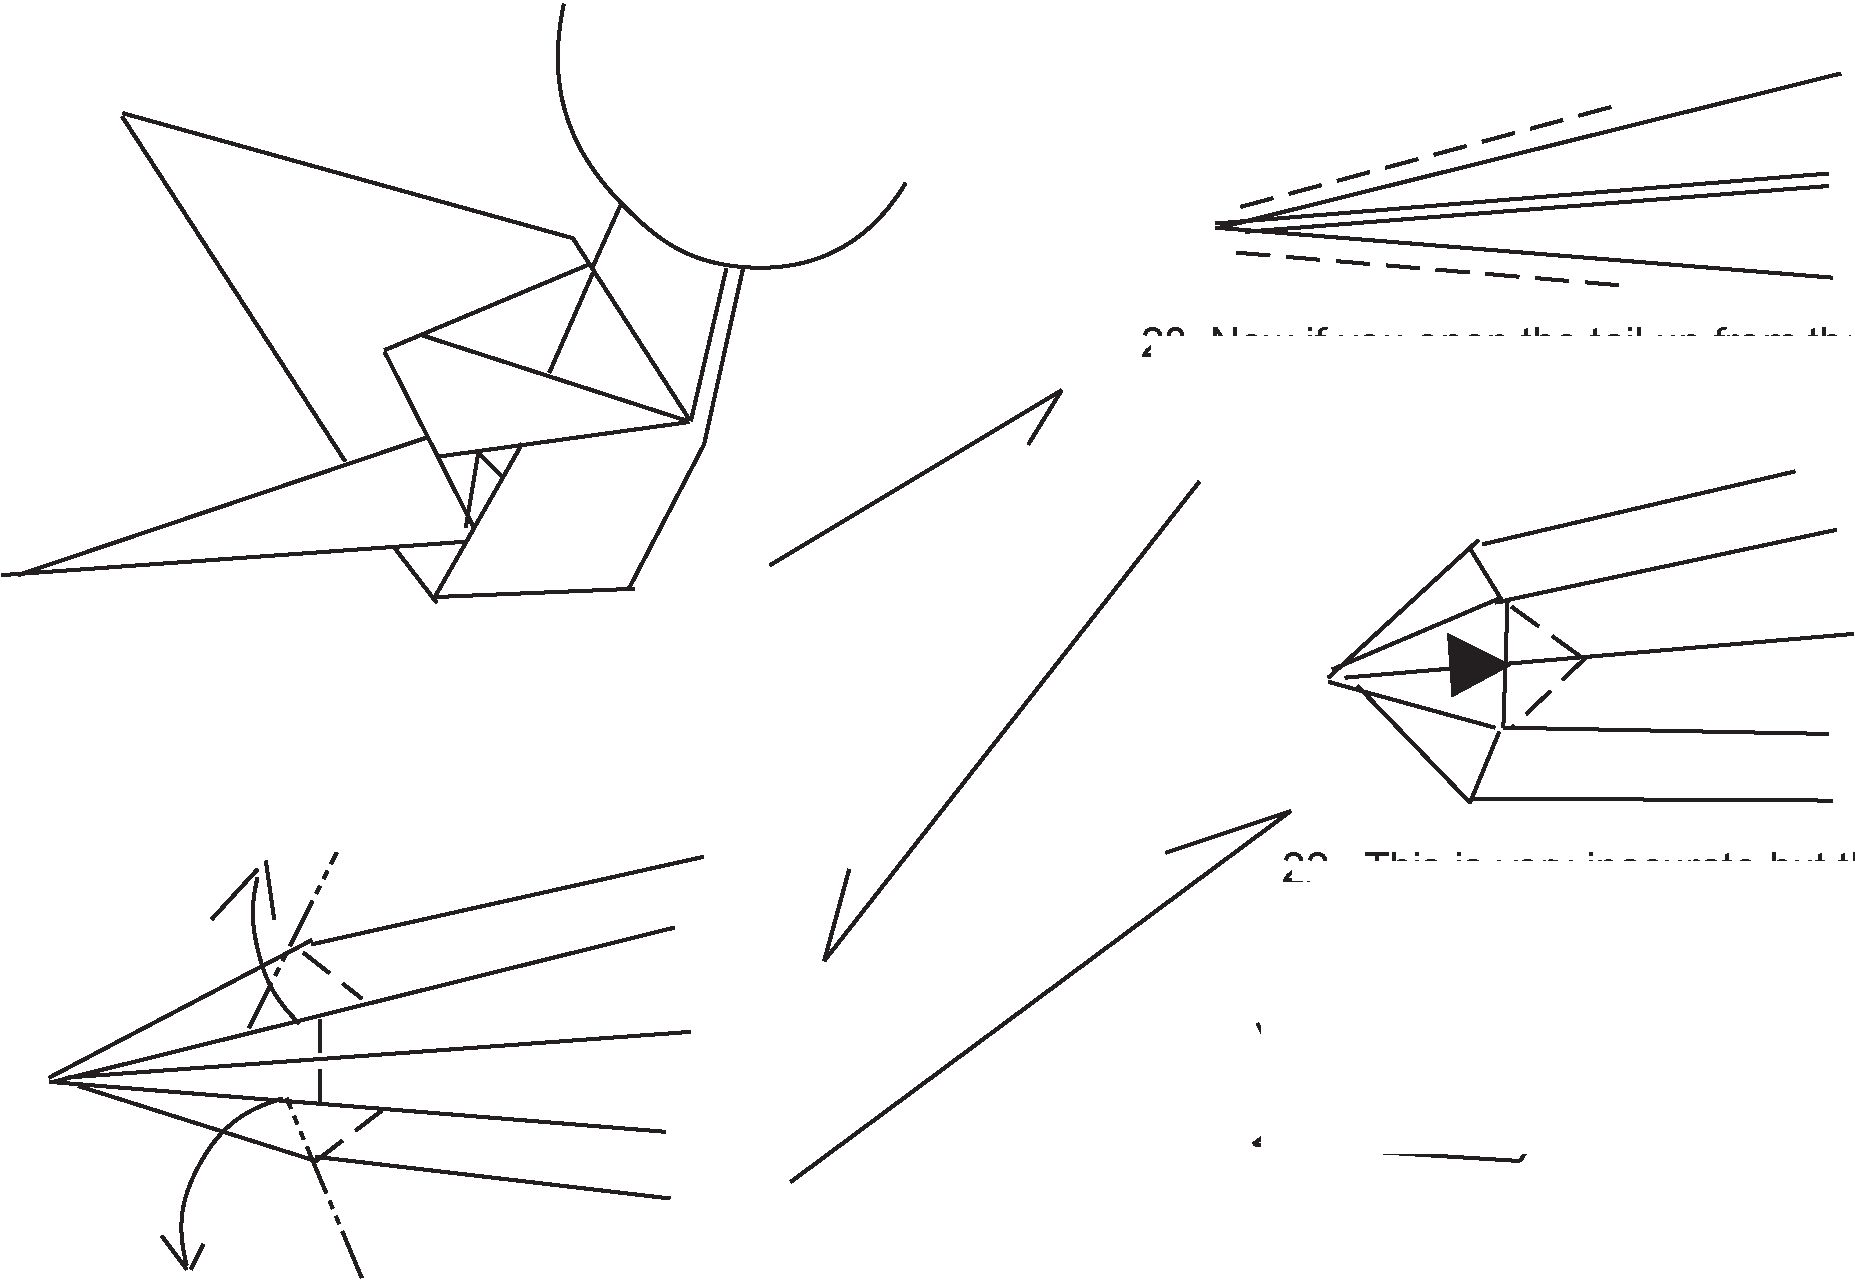
21. Then if you fold it up as you pull out the last layers it should give you lots of material to make a barb for the tail.
20. Now if you open the tail up from the top and then looked at it from the bottom it should resemble this. Now open out the bottom layers part way.
22. This is very inacurate but the best I could do,
23. If everything worked out just right it ought to bear at least a passing resemblance to this. This finishes the tail, well all but a tiny thing, we do at the end of the process. Again note a little bit of color change at the bottom of the flare in the tail.
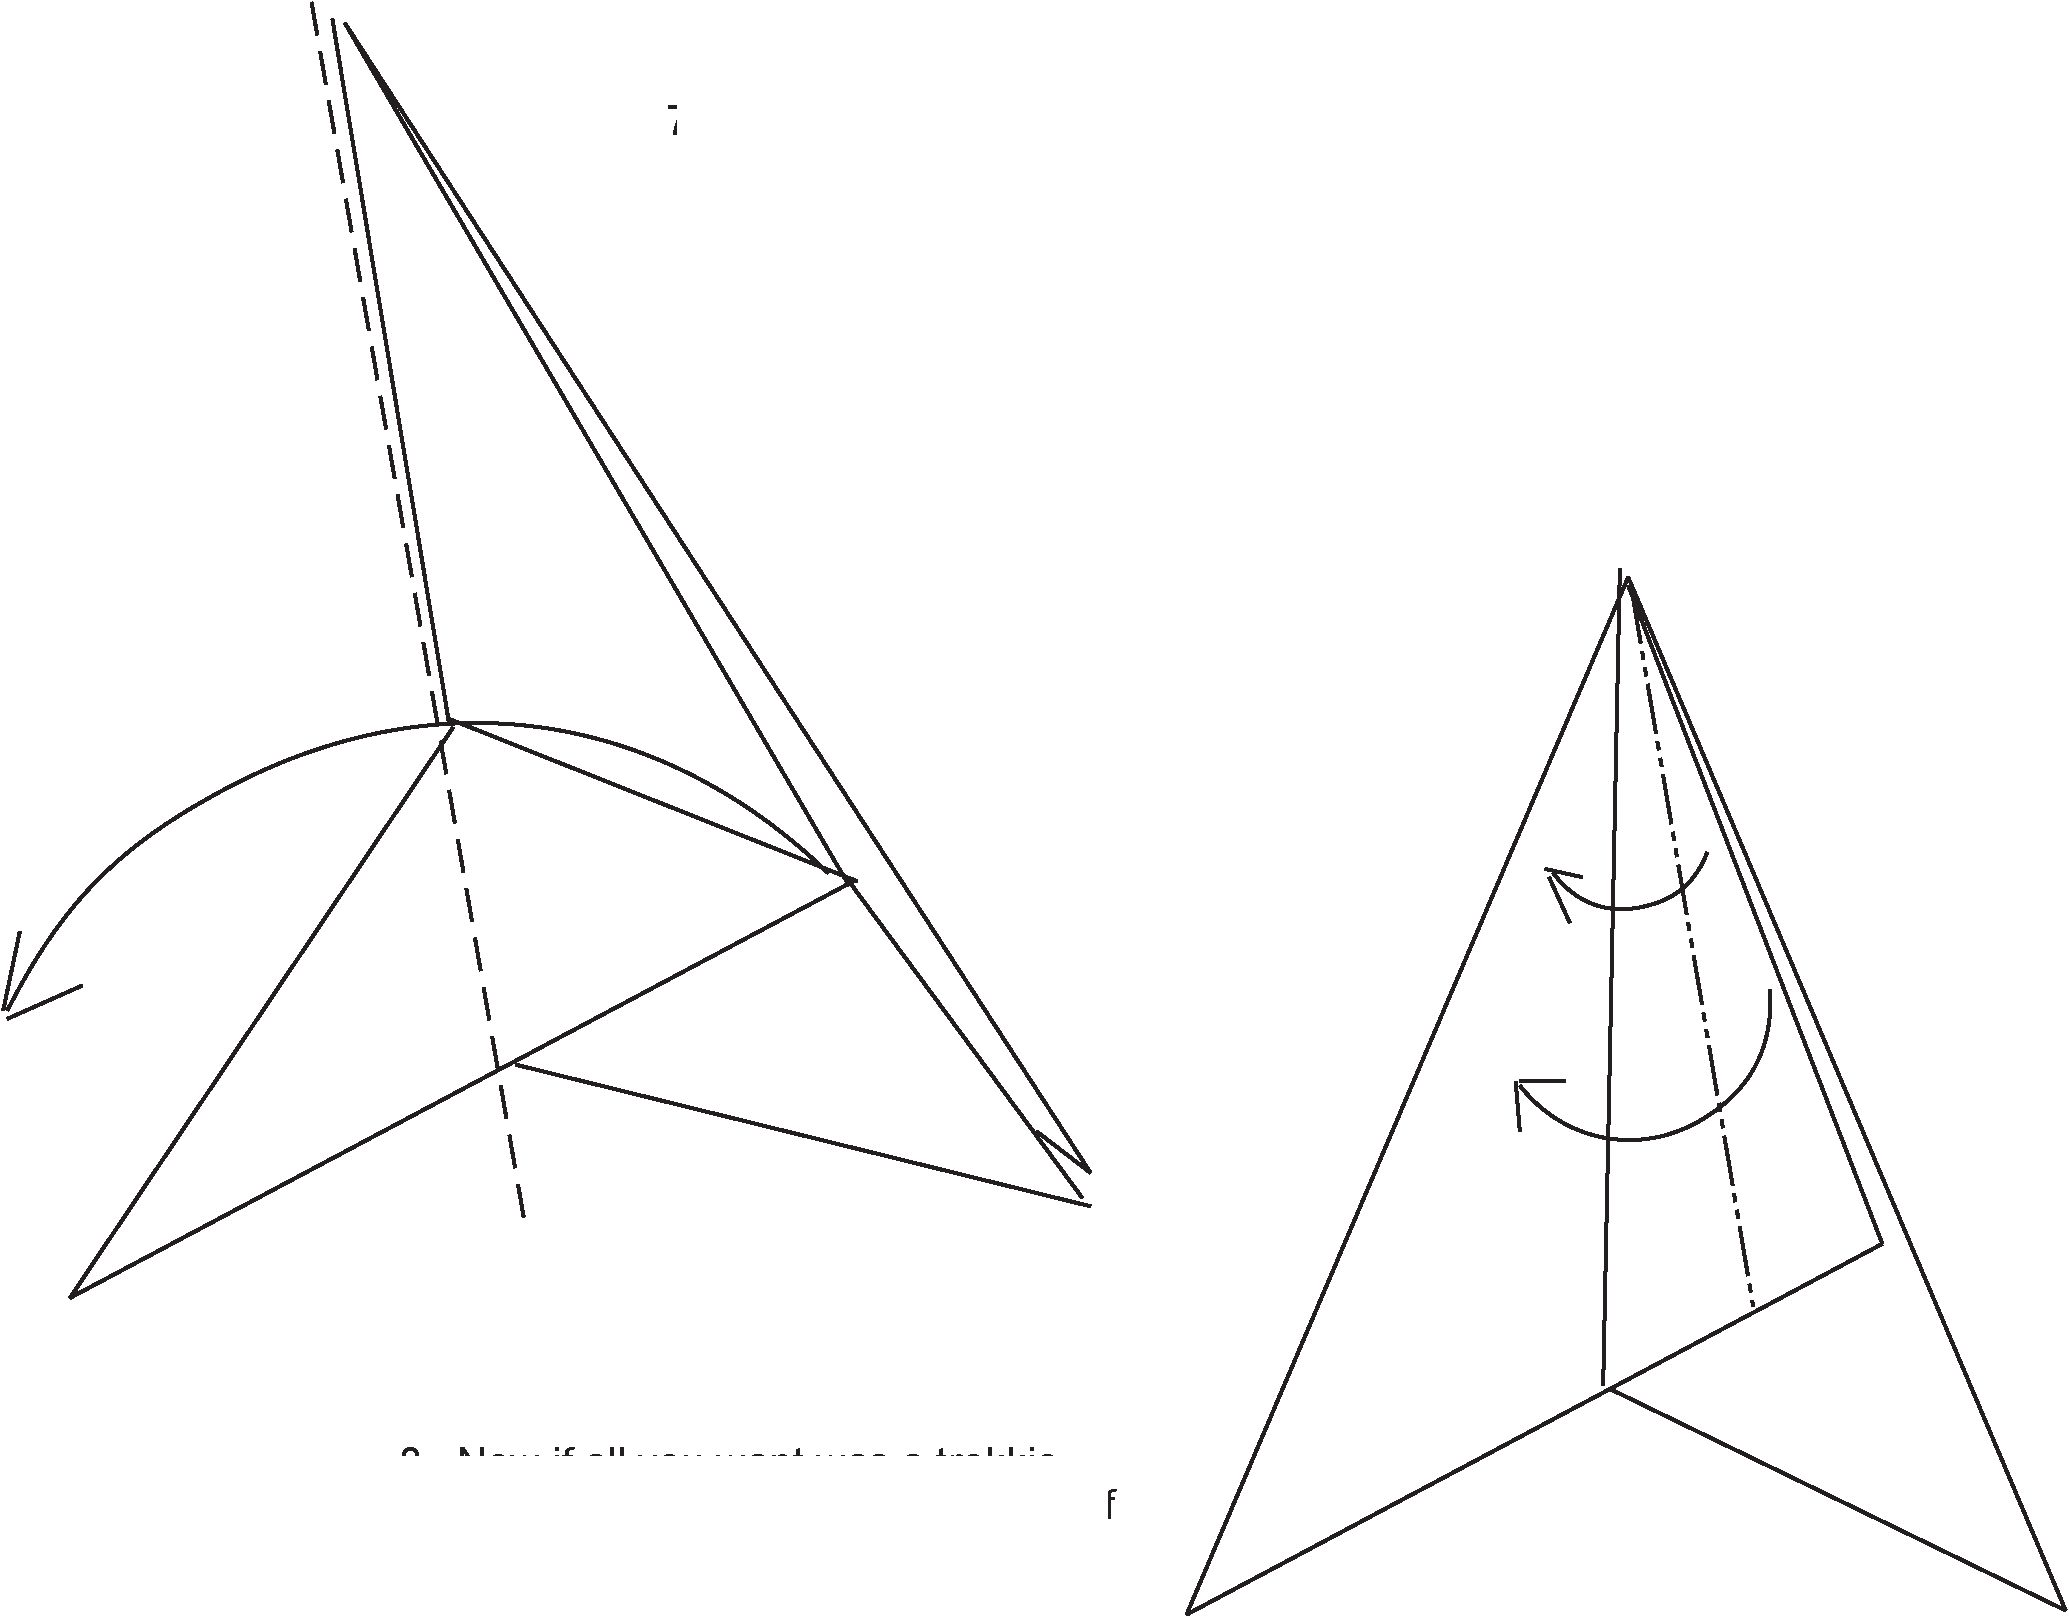
24. Now if we give the poor beastie back it’s wing it should look like this! Now form the neck using a series of pleat folds to suit your tastes!
25. I always seem to go for necks that go both directions, of course that’s up to you, but all the same I think I will finish the diagrams with it done in my preference. Now to form the head start by using a crimp fold.
26. To make this easier when you go to pull out the two layers on each side let the head come unfolded. Grab the outer 2 layers underneath the head on each side and pull.
27. Sort of looks like this or it should! Then with all the new layers showing fold it back flat.
28. anything vaguely reassembling a head at this point is good, feel free to fold up a snout, or not.
29. Might look like this complete with snout or maybe better, if you work it right, you can make it seem to have eyes. The top 2 thirds of the head are color changed.
-
30. Now lets fold them wings up, as you might have noticed, just some simple pleats and we are almost done.
-
31. Or if you are not the finicky type you could say it was done! But there is this one little bit that sort of helps I think.
-
32. Us finicky types would look at this and say, oh! be jabbers!
But that critter has a big behind! Not compact at all so we go back to x-ray mode beneath the wing and you can see where we tuck that bit inside of the wings to finish it up and tighten it down as it were!
33. Now we are finished, unless your feeling especially clever and then you can go back to steps 8 through 12 and instead of all that mucking about just sink the inner layer which would let you make a nice neat perfect looking squash fold, except then you might need to add a couple of folds to round out the tummy.
Download PDF file with this instructions for printing